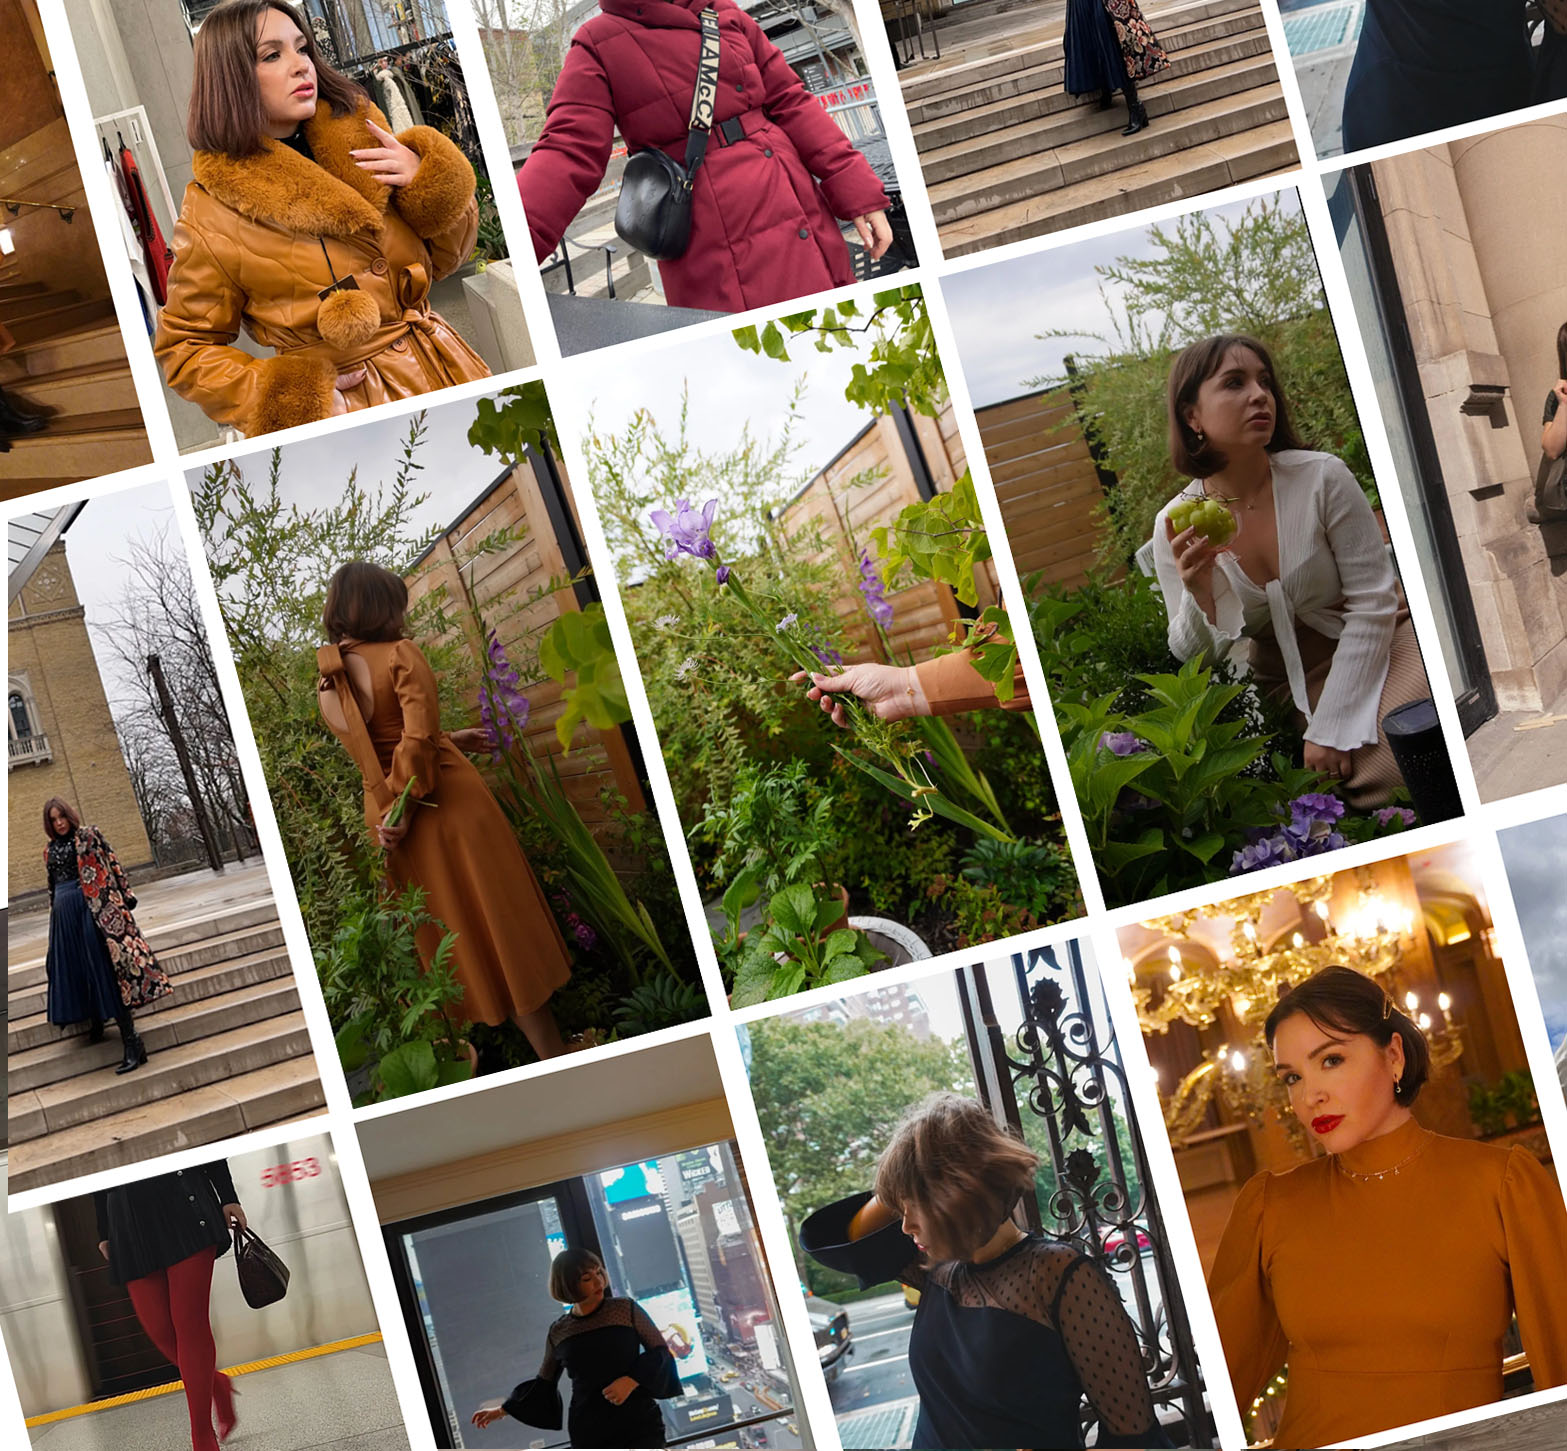
My Super-Simple Vegan Makeup for Work or Every-Day Wear
When it comes to makeup, everyone has the balance that works for them. For me, I am very comfortable walking out of the house with just a little undereye concealer, lip balm and something to tame my eyebrows. However, I think I have finally found the perfect balance of cruelty-free & vegan makeup that I actually enjoy applying and wearing daily! I’m also acne prone with combination skin. For most of my life, daily makeup was a bad idea, as I would inevitably break out.
It took me a while to form my go-to makeup routine. I love how all of these products work together and stay put throughout the day. They are all super easy to apply and totally goof-proof. (And, to be totally honest, some of these products took me by surprise! I’m used to spending a lot on makeup and skincare, so to find “drugstore” options that are solid is amazing.)
Below is my go-to vegan make up routine. It’s perfect for work, school, or whenever you’d like to look polished but natural. I’ve tested this routine in cold, dry weather (Toronto, Ontario) and hot, humid weather (Dallas, Texas) and it hasn’t let me down yet!


Milk – Cooling Water + Blur Stick
These mini primers by Milk came in a gift set from my sister. And while I love the cute design and packaging of Milk products, I find many of them just aren’t ideal for me. However, these two cuties are the exception! I reach for the Cooling Water and Blur Stick primers several times a week. Both of these Milk products are colourless on the skin and help disguise my larger pores. When applied sparingly, they are a reliable base for the rest of my face makeup.
After my skincare routine, I swipe the Cooling Water over the puffy areas under my eyes. I have a sunken hollow effect to my under eye area, and I find any cooling products help with this a bit. If it’s a super hot day, I’ll apply a little bit to my forehead and chin just to help keep my face feeling cool while I apply the rest of my make up.
The Blur stick is a super easy, no-brainer primer. I just swipe this where I need it and pat in with my fingertips. Because my largest pores are across my cheeks, I concentrate any primers there. Anytime I’m feeling a little self-conscious about my pores, I apply this to minimize their appearance. I also like to apply this across my forehead to disguise fine lines and to prevent excess oils.
Travel tip: Because these mini twist-up tubes take up so little space, they are always in my makeup bag. When I have to fly, I bring these two with me in my purse, along with organic face wipes, to refresh my face prior to landing.
Pacifica – Transcendent Concentrated Correcting Concealer
Shade: Light
The Transcendent Concealer by Pacifica is an absolute must for me! I was not expecting to fall in love with this product and picked it up strictly on a whim. A few years ago, I had tried the Pacifica undereye brightener and did not like it at all. But the Transcendent Concentrated Correcting Concealer applies and wears beautifully. This concealer blends out really well, conceals the hollow and dark areas under my eyes, and it’s super affordable!
A tip for application: you only need a tiny bit, so don’t go crazy with this stuff. After swiping the concealer wand under both of my eyes, I use a firm, flat-top foundation brush to buff the product outward. (I have tried blending with my fingertips and a beauty blender, but I find a dense but soft brush works best.) The Pacifica Correcting Concealer blends in seamlessly with a very subtle satin sheen.
The coverage is medium, but you literally cannot feel it on your skin at all. It’s absolutely weightless! The one downside is that it doesn’t always play nice with foundations layered on top. So it’s best for “minimalist” makeup routines, like this one.

Pure Anada – Sheer Matte Pressed Mineral Powder
Shade: Very Fair
I have always shied away from powder foundations. In the past when I’ve tried them, I didn’t like how they would settle into my pores and make my face look super gross. I’m not sure what magic it is that Pure Anada uses to create their Sheer Matte Pressed Mineral Powder, but it’s unlike any other powder foundation I’ve tried!
There is absolutely no powder kick-up from this product, which hints at its creamy, silk-like texture. I use a dense, flat-top brush to pat the product onto the large areas of my face, and then buff it out. This stuff stays put amazingly! Even after a full day at work, I still have a natural coverage which doesn’t creep into my pores or crease. The finish is beautifully natural. It’s like your skin but better! Although it’s a powder foundation, it wears more like a mousse or liquid foundation. (Very impressive!) The formula doesn’t look cakey, nor does it emphasize any dry patches on my face. And because it’s a powder formula, it does help absorb oils and prevent shininess.
Lastly, Pure Anada product pans are sold separately from their compact containers. The powder pan refills have a magnetized bottom that keeps them securely in the compact. When your powder runs low, just buy a refill! This helps reduce packaging waste.

Marc Jacobs Beauty – Air Blush
Lines & Last Night
I bought a few Marc Jacobs products to test out and see if they were worth the brand hype. The Air Blush is the stand-out product for me. I love that you can achieve such a gorgeous, sculpted look using the two shades in the pan. I use this blush in place of my Charlotte Tilbury Bronze & Glow palette because you can achieve a similar “lifted cheekbones” look with this blush duo. However, these shades look more natural and are easier for every-day wear.
Charlotte Tilbury – Brow Lift
Rita
This is my second Brow Lift by Charlotte Tilbury, and I absolutely love it! Previously, I bought the shade Brooke S, and Rita is a touch lighter and looks more natural on me.
The fact that the Brow Lift is a multi-tool makes it a must-have in my makeup bag! It’s 3 tools in one. There is the mechanical brow pencil, which applies perfectly and stays put all day, the “Shape” highlight powder, which disguises stray hairs and adds highlight to the brow bone, and of course the spoolie brush.
The little hidden “shape” colour comes in super handy if you’re in a rush and want to add a few highlight spots on your face. Twist the middle portion of the Brow Lift open to reveal a mini sponge applicator with powder product already loaded on it. I dab the highlight colour onto the inner corners of my eyes and a little down the bridge of my nose to add depth. It also looks pretty on the cupid’s bow of the upper lip or across the eyelids for a subtle sheen.
Pacifica – Stunning Brows Eye Brow Gloss and Set
Golden Brown
I tried a few brow gels over the years, but I keep re-purchasing the one by Pacifica. It’s a great price, holds all day, and the brush is a decent size. What more can you ask for?
Also, Pacifica is a cruelty-free, 100% vegan makeup brand. There are so many vegan makeup options from them, and I feel like I’m just starting to scratch the surface.

Pixi – Endless Silky Eye Pen
Black Noir
Currently, I don’t wear eyeliner every single day. But for years, I did! I would use liquid eyeliner to do a winged cat-eye anytime I left the house. Nowadays, I don’t have the patience for liquid eyeliner. No matter how good it looks, it takes too long to fuss with and inevitably starts to burn my eyes.
If you love liquid eyeliner look but are also fed up with how annoying it is to apply, you should give gel eyeliners a try! You can achieve the same concentration of colour and a sharp (or smokey) edge. But gel liners are much more forgiving than their liquid counterparts.
To make a cat-eye look: Trace your upper lash line with the pencil’s tip, and then trace over the same line with a fine-point eyeliner brush. (I use the one from 100% Pure.) When you get to the end of your eye, use the brush to pull a “winged” point out. You can be as subtle or dramatic as you want. If you fumble, don’t worry, gel liners are easy to wipe away! However, the beauty of gel liners is that once they dry, they are set and won’t budge. Just like a liquid liner!
I like the Pixi Endless Silky Eye Pen because it performs exactly like the gel liner from Marc Jacobs Beauty, but at a fraction of the cost. Win, win.
Pacifica – Dream Big Last Extending 7-in-1 Mascara
Black Magic
I know—I’m obsessed with Pacifica makeup lately! This is the third Pacifica makeup item on this list. And this mascara was featured in my “3 Amazing Non-Toxic & Vegan Mascaras You Need to Try” post.
If you want to read about why I love this mascara (hint, it’s all in the wand!) please check out that post.
Cover FX – Mattifying Setting Spray
Cover FX is an amazing cruelty-free and vegan makeup company. I don’t know why more people don’t talk about this brand! Everything I’ve tried from them, I love. Their foundations and concealers are top-notch. But today, I’d like to draw attention to their setting spray. If you have dry or combination skin, setting powders may be too drying. Enter the setting spray! I used this both in Toronto and Dallas, Texas–two very different climates. The Cover FX Mattifying Setting Spray worked reliably in both cities.
Keep in mind, I’ve only tested it with the above makeup routine. But so far, so good! My makeup stays put all day 💁♀️

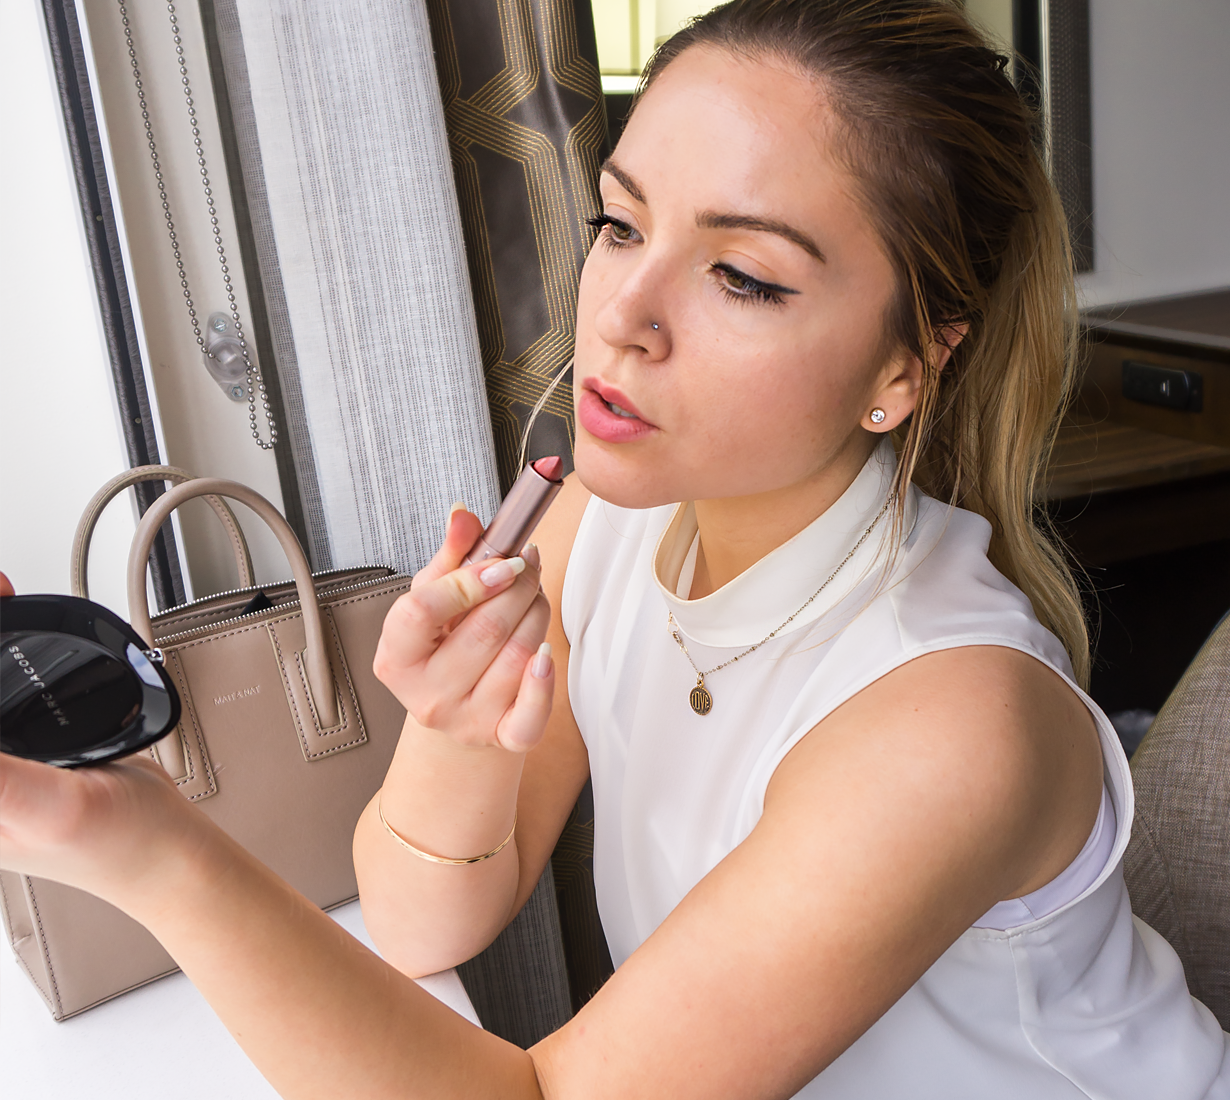
100% Pure Cocoa Matte Fruit Pigmented Lipstick
Sahara
If you are looking for natural, high-performance makeup, you need to try 100% Pure. I have two shades from the Cocoa Matte Lipstick line and love them both equally. The shade Sahara is a beautiful neutral colour that would suit most skin tones. I have olive skin, so I usually stay away from purples because they can emphasize the yellowness of my skin. However, this berry-toned mauve is mixed with a grapefruit pink so it looks fresh and healthy on my lips!
It’s a little darker than my natural lip colour, but is perfect to wear to the office. The colour lasts for hours, even after drinking 2 cups of coffee! The 100% Pure Cocoa Matte Lipsticks do leave a faint stain on my lips, but I actually like that because even if the product rubs off my lips still look good.
A tip for application: swipe on a lip balm first if you want a hydrated, satin finish. If you want a true matte lip look, apply two coats to bare lips. The formula has great flexibility to look subtle or dramatic.